The first snowfall of the year always brings a sense of childlike wonder. As delicate flakes descend, blanketing the world in a pristine, white canvas, memories stir – memories of snowball fights, cozy evenings by the fire, and the unique joy of transforming nature’s gift into a delectable treat. Today, we’re not just making ice cream; we’re creating a memory, a connection to simpler times, and a delicious link to the past. This snow ice cream recipe, passed down through generations, is more than just a dessert; it’s a tradition, a fleeting moment of winter magic captured in a bowl.
A Culinary Tapestry Woven with Snow
Snow ice cream, a humble delight, is a testament to human ingenuity and our innate desire to find sweetness in the simplest of things. Before the advent of modern freezers and commercially produced ice cream, resourceful cooks throughout history and across cultures have found ways to create frozen desserts using readily available resources. This snow ice cream recipe, in particular, carries echoes of my grandmother’s kitchen, a place where culinary traditions were revered, and every dish told a story. This recipe isn’t just about making snow ice cream; it’s about connecting with that lineage.
Why You’ll Love This Snow Ice Cream Recipe
- Simplicity: With just a few ingredients and minimal effort, you can create a delightful dessert in mere minutes.
- Nostalgia: This recipe evokes a sense of nostalgia, reminding us of childhood winters and the joy of simple pleasures. It’s a taste of memory.
- Uniqueness: Snow ice cream is a unique treat that allows you to savor the flavor of fresh snow in a creamy, delicious way.
- Customizable: You can easily adapt this recipe to your liking by adding different flavors, toppings, or mix-ins.
- A Fun Family Activity: Making snow ice cream is a wonderful activity to enjoy with your family on a snowy day.
The beauty of this recipe is that it is so quick to make. When the snow falls, you’re not just looking at a weather event; you’re seeing the potential for a delicious dessert. You can involve the whole family in collecting the snow, making it a collaborative and memorable experience.
The Essential Ingredients for Snow Ice Cream
The quality of your ingredients will directly impact the final result. Fresh snow is, of course, the star of the show, but the supporting cast plays a crucial role in creating a harmonious blend of flavors and textures.
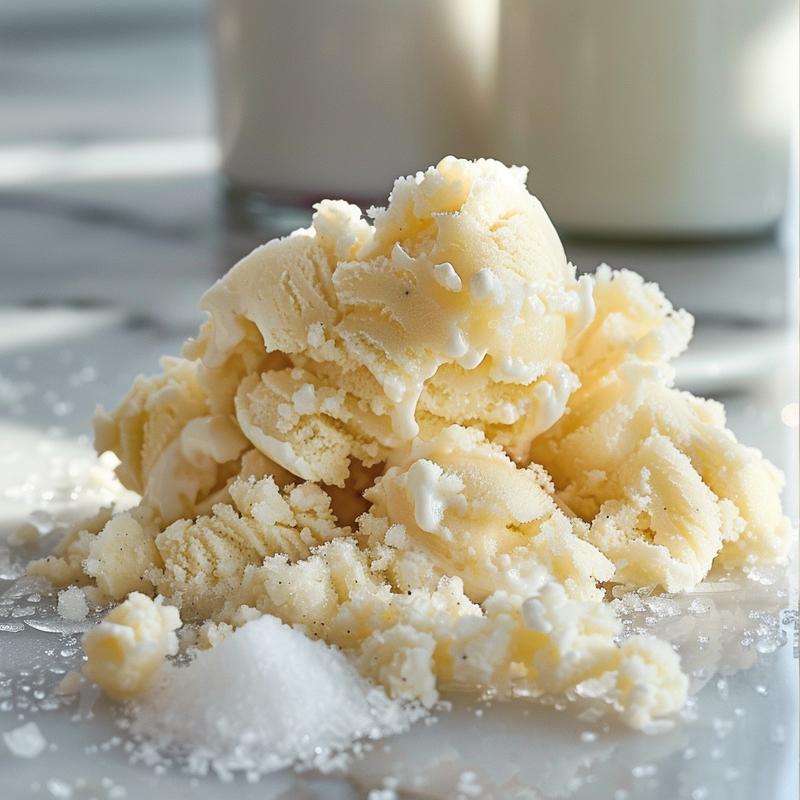
- Fresh Snow: The key ingredient! Ensure it’s clean, white, and fluffy – far from roads, trees, or any potential contaminants. The snow is the foundation of this ice cream.
- Milk (or Half-and-Half): Adds creaminess and richness to the ice cream. Half-and-half will result in a richer, more decadent treat.
- Granulated Sugar: Provides sweetness and helps to bind the ingredients together.
- Vanilla Extract: Enhances the flavor and adds a touch of warmth.
- Salt (Optional): A pinch of salt balances the sweetness and enhances the other flavors.
Here’s the ingredient list again for easy reference:
- 8 cups fresh snow
- 1 cup milk (or half-and-half for extra creaminess)
- 1/2 cup granulated sugar
- 1 teaspoon vanilla extract
- Pinch of salt (optional)
Step-by-Step Guide: Crafting Your Snow Ice Cream
The process of transforming snow into ice cream is surprisingly simple. Follow these steps carefully, and you’ll be enjoying a bowl of this delightful treat in no time.
- Collect the Snow: Using a large, clean bowl, gather fresh, clean snow. Ensure the snow is pristine and free from any debris.
- Prepare the Milk Mixture: In a separate bowl, whisk together the milk (or half-and-half), sugar, vanilla extract, and salt (if using) until the sugar is mostly dissolved. This is where the cream is born.
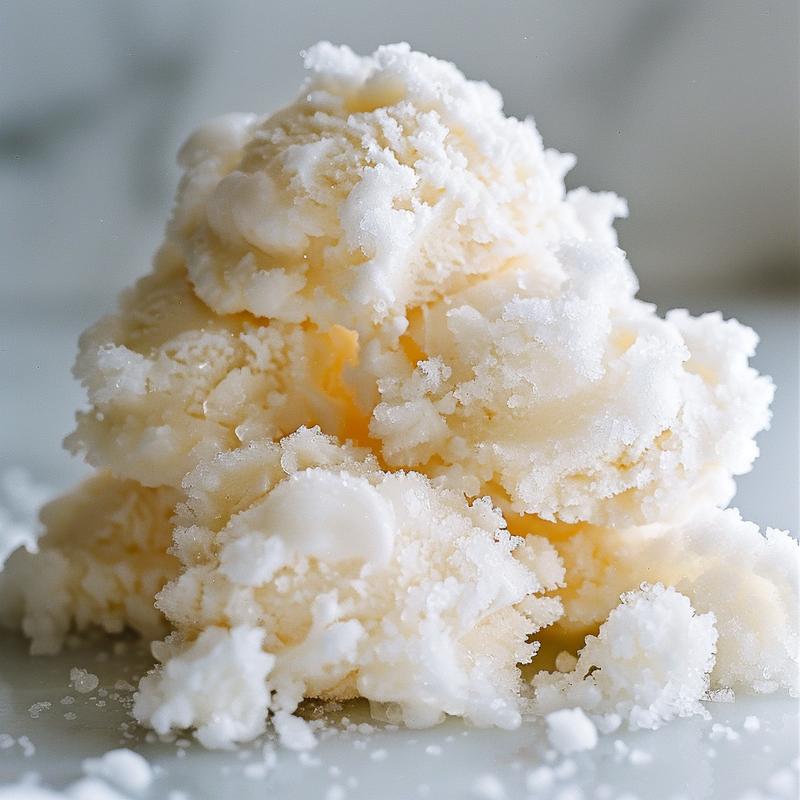
- Combine and Stir: Gently pour the milk mixture over the snow. Quickly stir the mixture together until it reaches a soft, ice cream-like consistency. Be careful not to overmix, as the snow will melt.
- Serve Immediately: Enjoy your snow ice cream immediately! It’s best served fresh, as it will melt quickly.
Pro Tips for Perfect Snow Ice Cream
- Snow Quality is Key: The fresher and cleaner the snow, the better the taste and texture of your ice cream.
- Chill the Milk: Using chilled milk or half-and-half will help prevent the snow from melting too quickly.
- Don’t Overmix: Overmixing will cause the snow to melt, resulting in a watery ice cream. Stir gently and quickly until the desired consistency is reached.
- Taste and Adjust: Before serving, taste the ice cream and adjust the sweetness or flavor to your liking. You can add more sugar or vanilla extract, if needed.
Common Mistakes to Avoid
- Using Dirty Snow: This is the most common mistake. Ensure the snow is clean and free from any contaminants.
- Overmixing: As mentioned earlier, overmixing will cause the snow to melt, resulting in a watery ice cream.
- Adding Too Much Liquid: Adding too much milk or half-and-half will also cause the snow to melt. Start with a small amount and add more as needed.
- Not Serving Immediately: Snow ice cream melts quickly, so it’s best to serve it immediately after making it.
Variations to Elevate Your Snow Ice Cream
The beauty of this recipe lies in its versatility. Feel free to experiment with different flavors and toppings to create your own unique snow ice cream masterpiece. You can really turn it into a dessert that’s all your own.
- Chocolate Snow Ice Cream: Add a tablespoon or two of cocoa powder to the milk mixture for a chocolatey twist.
- Peanut Butter Snow Ice Cream: Stir in a tablespoon of peanut butter to the milk mixture for a nutty flavor.
- Maple Snow Ice Cream: Replace the granulated sugar with maple syrup for a naturally sweet and flavorful ice cream.
- Fruit Syrups: Drizzle your favorite fruit syrups or jams over the snow ice cream for added sweetness and flavor.
- Coconut Milk Snow Ice Cream: For a dairy-free version, you can substitute the milk with coconut milk. This adds a subtle coconut flavor and a creamy texture.
A Note on Storage
Snow ice cream is best enjoyed immediately, as it melts quickly. However, if you have leftovers, you can store them in the freezer for a short period of time. Keep in mind that the texture will change, and it will become more icy. It isn’t really meant to be stored.
Frequently Asked Questions (FAQ)
- Can I use snow from anywhere? No, only use fresh, clean snow from an area that is free from pollution and contaminants.
- Can I use artificial sweeteners? Yes, you can substitute the sugar with your favorite artificial sweetener. Adjust the amount to your liking.
- Can I add other flavors? Absolutely! Feel free to experiment with different extracts, spices, or toppings.
- How long will snow ice cream last? Snow ice cream is best enjoyed immediately, as it melts quickly.
- My snow ice cream is too watery. What did I do wrong? You likely overmixed the mixture or added too much liquid. Be sure to stir gently and use the correct proportions of ingredients.
Serving Suggestions: The Final Flourish
Snow ice cream is a delightful treat on its own, but you can elevate the experience by adding a few simple toppings or accompaniments.
- Fresh Fruit: Top your snow ice cream with fresh berries, sliced bananas, or other seasonal fruits.
- Chocolate Sauce: Drizzle chocolate sauce over the ice cream for a decadent treat.
- Sprinkles: Add a touch of whimsy with colorful sprinkles.
- Whipped Cream: Top with a dollop of whipped cream for extra creaminess.
- Crushed Nuts: Sprinkle crushed nuts over the ice cream for added texture and flavor.
Snow ice cream is more than just a recipe; it’s a connection to our past, a celebration of the present, and a delicious way to embrace the magic of winter. It’s a reminder that even the simplest ingredients, when combined with a touch of creativity and a dash of love, can create something truly extraordinary. This snow and cream is a simple treat that you can make with just a few ingredients. My grandmother always made it when the snow fell, and it’s a tradition I’m happy to share with you. It’s been a part of our family for generations, and I hope it becomes a part of yours too. When the snow falls, remember this recipe, and remember the joy it brings. It’s just a taste of winter’s sweetness. It’s fun, easy, and creates lasting memories. It’s ice cream, but it isn’t just ice cream; it’s a story, a tradition, a moment captured in time. You’re not just making a dessert; you’re creating a legacy. So, gather your ingredients, embrace the snow, and let the magic begin. Enjoy!

How to Make Snow Ice Cream in 10 Minutes
Ingredients
Method
- Collect fresh, clean snow in a large bowl.
- Whisk together the milk, sugar, vanilla extract, and salt (if using) until the sugar is mostly dissolved.
- Pour the milk mixture over the snow.
- Quickly stir the mixture together until it reaches a soft, ice cream-like consistency. Be careful not to overmix, as the snow will melt.
- Serve immediately and enjoy!
Notes
Loved this recipe? Save it to your favorite Pinterest board so you can easily find it later! ✨