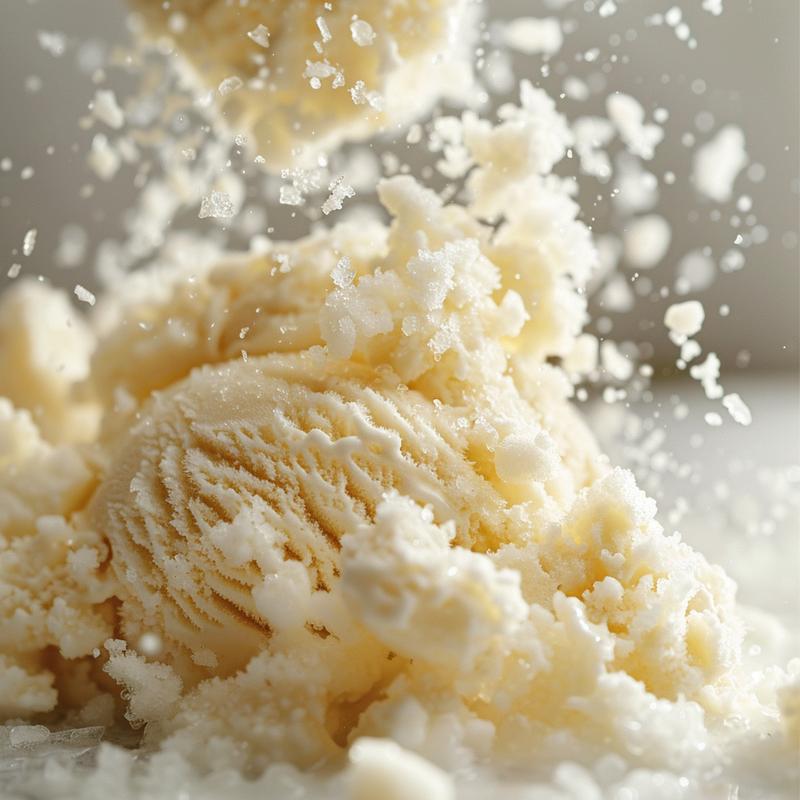
Winter’s frosty embrace offers more than just picturesque landscapes; it gifts us with a unique, ephemeral ingredient: fresh snow. And what better way to celebrate a snow day than by transforming this natural wonder into a delightful treat? Today, we’re diving into the art of crafting Old Fashioned Snow Ice Cream, a simple yet incredibly satisfying dessert that captures the essence of the season. This isn’t just about mixing ingredients; it’s about understanding the science of dilution, the importance of ingredient balance, and the joy of creating something extraordinary from the ordinary. Think of it as a blank canvas, ready for your personal touch. 🍸🧊
Why You’ll Love This Old Fashioned Snow Ice Cream
This isn’t your average ice cream recipe. It’s an experience. Here’s why you’ll fall in love with it:
- Simplicity: Requires minimal ingredients and equipment.
- Novelty: A conversation starter that will impress your friends and family.
- Customizable: Easily adaptable to your preferred flavors and dietary needs.
- Seasonal: A perfect way to embrace and enjoy the winter season. It’s a snow day staple!
- Nostalgic: Evokes childhood memories and creates new ones.
It’s a treat that reminds you that if you have access to fresh snow, you can make something truly special. The snow ice cream is a blank slate for your creativity.
The Science Behind the Sweetness
Before we jump into the recipe, let’s briefly discuss the science at play. The key to great snow ice cream lies in the balance between the liquid base (milk or cream), the sugar, and the snow. The snow itself is essentially frozen water, and as it mixes with the other ingredients, it begins to melt, diluting the mixture. This dilution is crucial, as it affects the final texture and sweetness of the ice cream. Too much dilution, and you’ll end up with a watery mess. Too little, and it will be overly sweet and icy. Achieving the perfect balance is what elevates this recipe from a simple mixture to a truly delightful dessert.
Old Fashioned Snow Ice Cream Recipe
Here’s how to make your own batch of Old Fashioned Snow Ice Cream:
Ingredients
- 8 cups fresh snow
- 1 cup milk or half-and-half
- 1/2 cup granulated sugar
- 1 teaspoon vanilla extract
- Pinch of salt (optional)
Equipment
- Large bowl
- Spoon or whisk
Instructions
- In a large bowl, combine the milk or half-and-half, sugar, vanilla extract, and salt (if using). Stir until the sugar is mostly dissolved.
- Add the fresh snow to the bowl, a little at a time, and stir gently to combine. Be careful not to overmix, as the snow will melt.
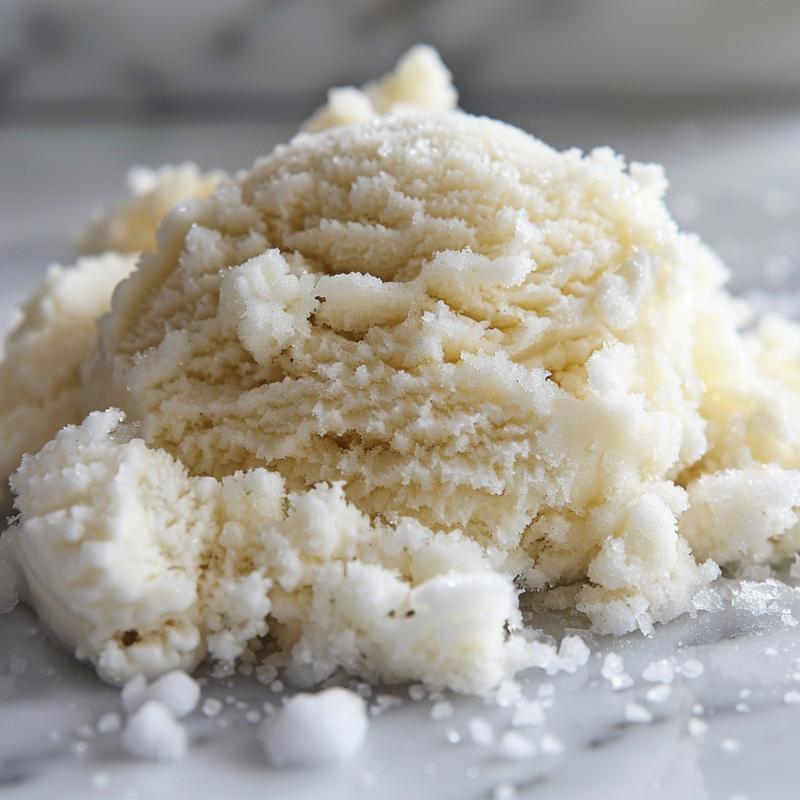
- Continue adding snow until the mixture reaches your desired consistency. It should be similar to soft-serve ice cream.
- Serve immediately.
Pro Tips for Perfect Snow Ice Cream
Elevate your snow ice cream game with these expert tips:
- Snow Quality: Ensure the snow is clean, fresh, and untouched. Avoid snow that has been near roads or heavily trafficked areas. Fresh snowfall is best.
- Temperature: Chill your bowl and milk or cream before starting. This helps to slow down the melting process.
- Gentle Mixing: Overmixing will result in a watery consistency. Stir gently and only until just combined.
- Taste Test: Adjust the sweetness to your liking. Add more sugar if needed, but remember that the coldness will dull the sweetness slightly.
- Serve Immediately: Snow ice cream is best enjoyed immediately after making it.
Common Mistakes to Avoid
Even with a simple recipe, mistakes can happen. Here’s what to watch out for:
- Dirty Snow: Using contaminated snow can lead to illness. It’s at your own risk! Only use clean, fresh snow.
- Overmixing: This is the biggest culprit of watery snow ice cream.
- Too Much Sugar: While sweetness is essential, too much sugar can make the ice cream overly sweet and icy.
- Not Serving Immediately: Snow ice cream melts quickly. Prepare it right before serving for the best texture.
Variations: Customize Your Winter Treat
The beauty of this recipe lies in its versatility. Here are a few variations to inspire you:
- Chocolate Snow Ice Cream: Add 2-3 tablespoons of cocoa powder to the milk mixture.
- Strawberry Snow Ice Cream: Mix in a few tablespoons of strawberry puree or chopped fresh strawberries.
- Maple Snow Ice Cream: Use maple syrup instead of granulated sugar for a rich, caramel-like flavor.
- Peppermint Snow Ice Cream: Add a few drops of peppermint extract for a festive twist.
- Snow Ice Cream Recipe Heavy Cream: Substitute the milk with heavy cream for a richer, more decadent treat. This will also change the mouthfeel of the final product.
- Sugar Vanilla: Infuse your sugar with vanilla bean by storing a split vanilla bean in an airtight container of sugar for a week or two before making the ice cream. This adds a subtle, yet complex vanilla aroma.
A Note on Safety
While making snow ice cream is a delightful activity, it’s essential to prioritize safety. Always use clean, fresh snow from a safe source. Avoid snow that has been treated with chemicals, is near roads, or appears discolored. Consuming snow ice cream is at your own risk. If you have any concerns about the safety of the snow in your area, it’s best to err on the side of caution and skip this recipe.
Storage: Can You Save It For Later?
Unfortunately, snow ice cream doesn’t store well. Due to its high water content, it will quickly melt and become icy in the freezer. It’s best enjoyed immediately after making it. If you have leftovers, it’s best to discard them rather than attempt to store them. But with how delicious it is, you probably won’t have any leftovers!
Frequently Asked Questions (FAQ)
Here are some common questions about making snow ice cream:
- Can I use artificial snow? No, artificial snow is not safe to consume. Only use clean, fresh, natural snow.
- Can I use flavored syrups instead of sugar? Yes, you can substitute sugar with flavored syrups like maple syrup or simple syrup. Adjust the amount to your liking.
- What if I don’t have vanilla extract? You can omit the vanilla extract, but it adds a nice flavor. You can also substitute it with other extracts like almond or lemon.
- How do I know if the snow is safe to use? The snow should be white, clean, and free from any visible debris. Avoid snow that is near roads, buildings, or other potential sources of contamination.
- What kind of milk is best? Whole milk or half-and-half will give you the creamiest results, but you can also use lower-fat milk or plant-based milk alternatives.
Serving Suggestions: Elevate the Experience
While snow ice cream is delicious on its own, here are a few ideas to elevate the serving experience:
- Toppings: Offer a variety of toppings like sprinkles, chocolate chips, chopped nuts, or fresh fruit.
- Waffle Cones: Serve the snow ice cream in waffle cones for a classic ice cream parlor experience.
- Hot Fudge Sauce: Drizzle with warm hot fudge sauce for a decadent treat.
- Garnish: Garnish with a sprig of mint or a dusting of cocoa powder for a touch of elegance.
Final Thoughts: Embrace the Magic of Winter
Old Fashioned Snow Ice Cream is more than just a recipe; it’s a celebration of winter’s simple pleasures. It’s a reminder that even the most ordinary ingredients can be transformed into something extraordinary with a little creativity and a dash of science. So, the next time you wake up to a fresh snowfall, gather your ingredients, embrace the chill, and create a batch of this delightful winter treat. Remember to prioritize safety, experiment with flavors, and most importantly, enjoy the process. Happy mixing! You’ve now mastered the liquid arts of snow ice cream. The cream is the key!

Old Fashioned Snow Ice Cream
Ingredients
Method
- In a large bowl, combine the milk or half-and-half, sugar, vanilla extract, and salt (if using). Stir until the sugar is mostly dissolved.
- Add the fresh snow to the bowl, a little at a time, and stir gently to combine. Be careful not to overmix, as the snow will melt.
- Continue adding snow until the mixture reaches your desired consistency. It should be similar to soft-serve ice cream.
- Serve immediately.
Notes
Loved this recipe? Save it to your favorite Pinterest board so you can easily find it later! ✨