Welcome, dear friends, to a journey into the heart of sugar artistry. Today, we delve into the enchanting world of royal icing, that ethereal cloak that transforms humble cookies into edible masterpieces. Royal icing isn’t just a recipe; it’s a tradition, a legacy passed down through generations of bakers, each adding their own delicate touch to the cultural tapestry.
As a retired librarian and culinary historian, I’ve spent years tracing the lineage of recipes, uncovering the stories woven into every ingredient and technique. Royal icing, with its pristine white canvas and endless possibilities, holds a special place in my heart. It allows us to express our creativity, to commemorate special occasions, and to connect with the past through the simple act of baking.
In this comprehensive guide, we’ll explore the nuances of royal icing consistencies, unlocking the secrets to achieving perfect results every time. Whether you’re a seasoned decorator or a curious beginner, this article will empower you to create stunning, memorable cookies that will delight both the eye and the palate. We’ll discuss everything from outlining delicate shapes to flooding large surfaces, and mastering intricate detail work. Let’s embark on this sweet adventure together, shall we?
Why You’ll Love This Guide
This guide isn’t just a set of instructions; it’s a pathway to unlocking your inner artist. You’ll discover:
- Clarity: A step-by-step approach that demystifies royal icing consistencies.
- Versatility: Techniques applicable to a wide range of cookie decorating projects.
- Confidence: The knowledge to troubleshoot common problems and achieve consistent results.
- Creativity: Inspiration to explore your own unique designs and styles.
With this guide, **if you**’re looking to create stunning **royal icing** cookies, you’ll have everything you need to succeed. **It’s** a game-changer for anyone serious about cookie decorating.
The Essential Ingredients
Like any great work of art, royal icing begins with simple, high-quality ingredients:
- Royal Icing Base (recipe of your choice): This is the foundation upon which all your decorating dreams are built. Choose a recipe that resonates with you. There are many variations, some using meringue powder, others using fresh egg whites.
- Water: The key to achieving the perfect consistency. Use filtered water for the purest results.
That’s all! **The icing** itself is rather simple, but the magic lies in the application.
Mastering Royal Icing Consistencies: A Step-by-Step Guide
The secret to stunning royal icing cookies lies in understanding and achieving the right consistencies. We’ll explore three essential consistencies: outlining, flooding, and detail work.
Step 1: Prepare Your Royal Icing Base
Begin by preparing your chosen royal icing base according to the recipe instructions. Ensure that the icing is smooth and free of lumps.
Step 2: Divide and Conquer
Divide the icing into separate bowls, one for each desired consistency. This allows you to adjust each batch individually without compromising the entire mixture.
Step 3: Outlining Consistency: Defining the Boundaries
The outlining consistency is your architectural blueprint, defining the edges and shapes of your design. It needs to be thick enough to hold its shape but thin enough to flow smoothly from a piping bag.
To achieve this:
- Add water, a few drops at a time, to one bowl of icing.
- Stir well after each addition, ensuring the water is fully incorporated.
- Test the consistency by piping a line onto a plate or parchment paper. The line should hold its shape without spreading excessively.
- **You’ll** know you’ve achieved the right consistency when the line remains defined but doesn’t break when piped.
Step 4: Flooding Consistency: Creating a Smooth Canvas
The flooding consistency fills in the outlined shapes, creating a smooth, even surface for further decoration. This consistency needs to be thin enough to spread easily and self-level, eliminating any air bubbles or imperfections.
To achieve this:
- Add water, a few drops at a time, to another bowl of icing.
- Stir well after each addition.
- Test the consistency by dropping a spoonful of icing back into the bowl. Count how long it takes for the icing to disappear back into the surface. This is known as the “count.”
- A 15-20 second count is generally ideal for flooding. **Icing is** smooth and glossy when it self-levels.
**Flood consistency** is crucial for a professional finish. A too-thick consistency will result in uneven surfaces, while a too-thin consistency will cause the icing to run over the edges. The goal is to achieve a smooth, self-leveling surface that provides the perfect canvas for your creative designs.
Step 5: Detail Work: Adding the Finer Touches
For intricate details like fine lines, lettering, and delicate embellishments, you’ll need a very stiff icing that holds its shape perfectly.
To achieve this:
- Keep some of the base icing without adding extra water, or add only a very small amount.
- The icing should be very stiff and hold its shape perfectly when piped.
- Test the consistency by piping a small dot or line onto a plate or parchment paper. The icing should retain its shape without spreading or drooping.
Step 6: The Final Test: Practice Makes Perfect
Before embarking on your cookie decorating project, take the time to test each consistency on a plate or parchment paper. This allows you to fine-tune the icing and ensure that it meets your specific needs.
Adjust with more water to thin the icing or more icing to thicken it, as needed. Remember, patience and practice are key to mastering royal icing consistencies.
Step 7: Preventing the Peril of Drying
Royal icing dries quickly, so it’s essential to prevent it from hardening while you’re working. Cover each bowl with plastic wrap, pressing it directly onto the surface of the icing to create an airtight seal. This will keep the icing pliable and prevent it from forming a crust.
**There is** nothing more frustrating than dried out icing!
Pro Tips for Royal Icing Success
- Use Gel Food Coloring: Gel food coloring provides vibrant, concentrated color without adding excess liquid to the icing.
- Sift Your Powdered Sugar: This removes any lumps and ensures a smooth, consistent icing.
- Use a Piping Bag and Tips: Piping bags and tips give you precise control over the icing flow, allowing you to create intricate designs with ease.
- Practice Your Piping Techniques: Before decorating your cookies, practice your piping techniques on a piece of parchment paper. This will help you develop your skills and confidence.
- Embrace Imperfection: Remember, even the most experienced decorators make mistakes. Don’t be afraid to experiment and learn from your errors.
Common Mistakes to Avoid
- Adding Too Much Water: This can result in icing that is too thin and runny. Add water gradually, a few drops at a time, and test the consistency frequently.
- Not Mixing Thoroughly: Incompletely mixed icing can be lumpy and uneven. Ensure that all ingredients are fully incorporated before using the icing.
- Leaving Icing Uncovered: This can cause the icing to dry out and form a crust. Cover the icing with plastic wrap pressed directly onto the surface to prevent drying.
- Using Expired Ingredients: Expired ingredients can affect the quality and consistency of the icing. Always use fresh ingredients for the best results.
**Because it** is such a delicate art, royal icing requires attention to detail.
Variations and Creative Ideas
Royal icing is a versatile medium that can be adapted to suit a wide range of creative projects. Here are a few ideas to inspire you:
- Flavored Royal Icing: Add a touch of flavor to your royal icing by incorporating extracts like vanilla, almond, or lemon.
- Colored Royal Icing: Experiment with different food coloring to create a rainbow of vibrant hues.
- Marbled Royal Icing: Create a marbled effect by swirling different colors of icing together.
- Embellished Royal Icing: Add edible glitter, sprinkles, or sugar pearls to create a dazzling effect.
For **St Patrick’s Day Royal Icing Cookies**, consider green icing with gold accents. You can create **Shamrock-shaped Cookies With Gold Accents** or **Four Leaf Clover Decorated Cookies**. These **St Patrick’s Day Cookies Royal Icing** designs are sure to impress. Imagine **Gold-trimmed Shamrock Cookies** gracing your table!
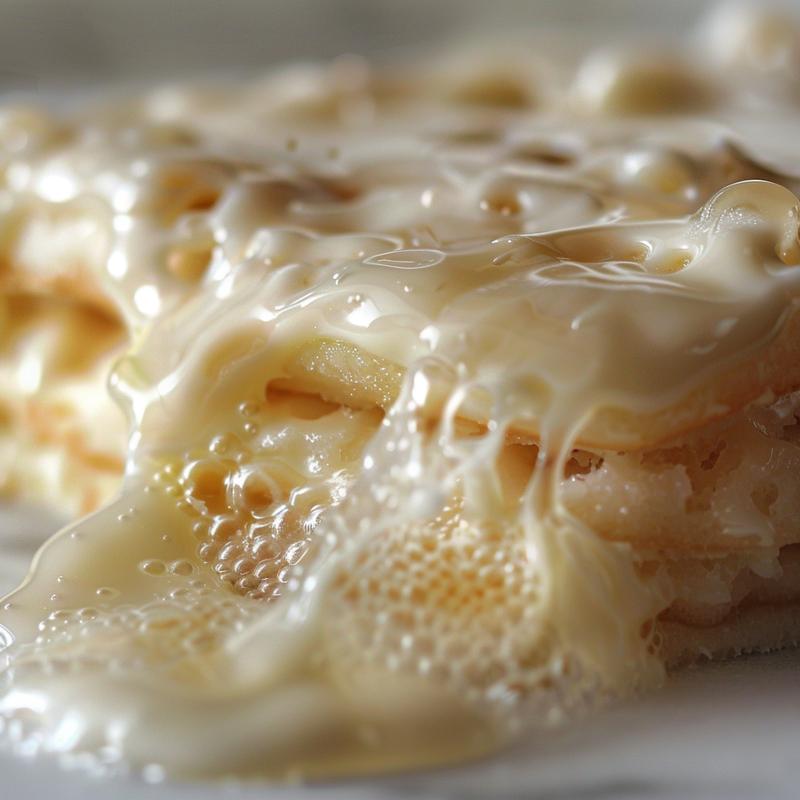
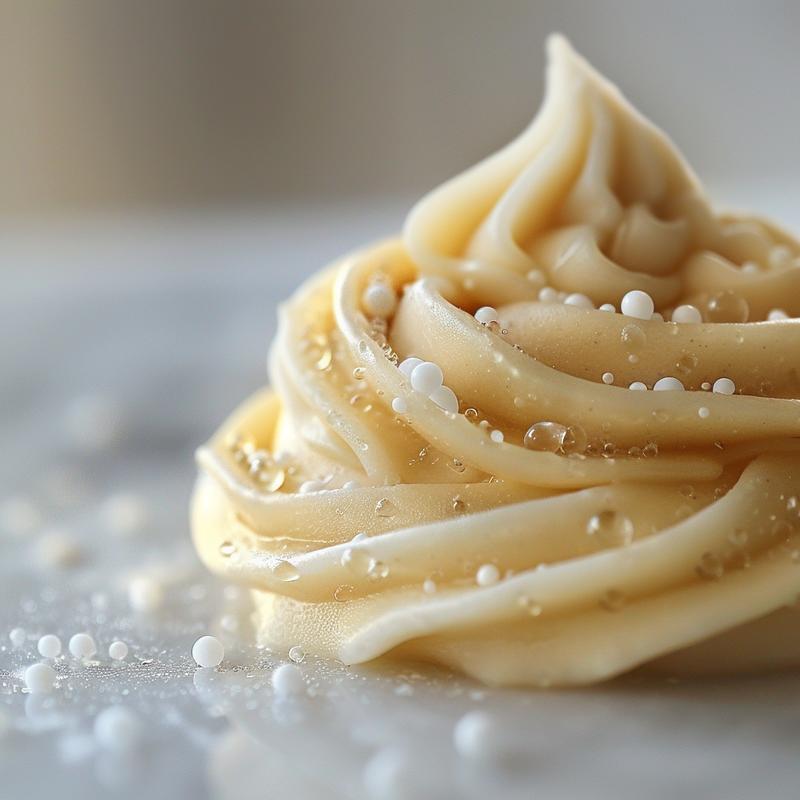
The **photos above** show some examples of these festive designs. **In the photos**, you can see how the different consistencies of **royal icing** come together to create intricate details. **The photos above** demonstrate the versatility of **royal icing** and its ability to transform simple cookies into works of art. **The photos** illustrate the beauty that can be achieved with practice and attention to detail.
**Consistency outline** is key to achieving these results. The **outline and flood** technique is essential for creating crisp, clean lines and smooth, even surfaces. A **thick flood** consistency is ideal for creating raised details, while a **thin flood** consistency is perfect for filling in large areas. The **consistency outline and flood** method allows you to create depth and dimension in your designs.
Storing Your Royal Icing Creations
Proper storage is essential for preserving the freshness and quality of your royal icing cookies.
- Airtight Containers: Store decorated cookies in airtight containers at room temperature.
- Avoid Humidity: Keep cookies away from humid environments, as moisture can cause the icing to soften or become sticky.
- Layering: If layering cookies in a container, place a sheet of parchment paper between each layer to prevent sticking.
- Freezing: Royal icing cookies can be frozen for longer storage. Wrap each cookie individually in plastic wrap and then place them in an airtight container. Thaw at room temperature before serving.
Frequently Asked Questions (FAQ)
Here are some common questions about royal icing consistencies:
- How do I fix royal icing that is too thick? Add water, a few drops at a time, until you reach the desired consistency.
- How do I fix royal icing that is too thin? Add more powdered sugar, a tablespoon at a time, until you reach the desired consistency.
- Why is my royal icing cracking? This is often caused by over-baking the cookies or using icing that is too thick. Ensure that your cookies are properly baked and that your icing is the correct consistency.
- How long does royal icing take to dry? Royal icing typically takes several hours to dry completely, depending on the thickness of the icing and the humidity of the environment.
Serving Suggestions and Presentation
**Royal icing** cookies are a delightful treat that can be enjoyed on their own or as part of a larger dessert spread.
- Gift Giving: Package decorated cookies in decorative boxes or cellophane bags for a thoughtful and personalized gift.
- Party Favors: Use decorated cookies as party favors for birthdays, weddings, or other special occasions.
- Dessert Tables: Arrange decorated cookies on a dessert table for a visually stunning and delicious display.
- Tea Parties: Serve decorated cookies alongside tea or coffee for an elegant and charming tea party.
**The uses are** endless! Royal icing cookies are perfect for any occasion.
And there you have it, my friends! A comprehensive guide to mastering royal icing consistencies. Remember, baking is more than just following a recipe; it’s about creating memories, sharing traditions, and connecting with the past. So, gather your ingredients, embrace your creativity, and let the sweet magic of royal icing transform your cookies into edible works of art. Happy baking!
[Internal Link: Royal Icing Consistencies]

Royal Icing Consistencies
Ingredients
Method
- Prepare your Royal Icing Base.
- Divide the icing into separate bowls.
- For outlining consistency: Add water, a few drops at a time, until thick enough to hold shape but thin enough to flow smoothly.
- For flooding consistency: Add water, a few drops at a time, until thin enough to spread easily and self-level.
- For detail work: Keep some base icing without adding water or add only a very small amount for a stiff consistency.
- Test each consistency on a plate or parchment paper. Adjust as needed.
- Cover bowls with plastic wrap to prevent drying out.
Notes
Loved this recipe? Save it to your favorite Pinterest board so you can easily find it later! ✨