Spring whispers promises of renewal, of color bursting forth from the earth, and of gatherings filled with laughter and light. What better way to capture this ephemeral beauty than in the delicate art of cookie decorating? Today, we embark on a journey to create stunning cookie tulip fields, miniature edible landscapes that will delight both the eye and the palate. This isn’t just baking; it’s crafting edible memories, heirloom treats passed down through generations. We’ll explore the lineage of sugar cookies, the traditions of royal icing, and the simple joy of transforming humble ingredients into works of art.
Meta Description
Create stunning cookie tulip fields with this easy recipe! Perfect for spring baking and impressing your friends and family.
Why You’ll Love This
These aren’t just cookies; they’re miniature works of art. Each cookie tells a story, a vibrant narrative of springtime joy. Here’s why you’ll adore creating them:
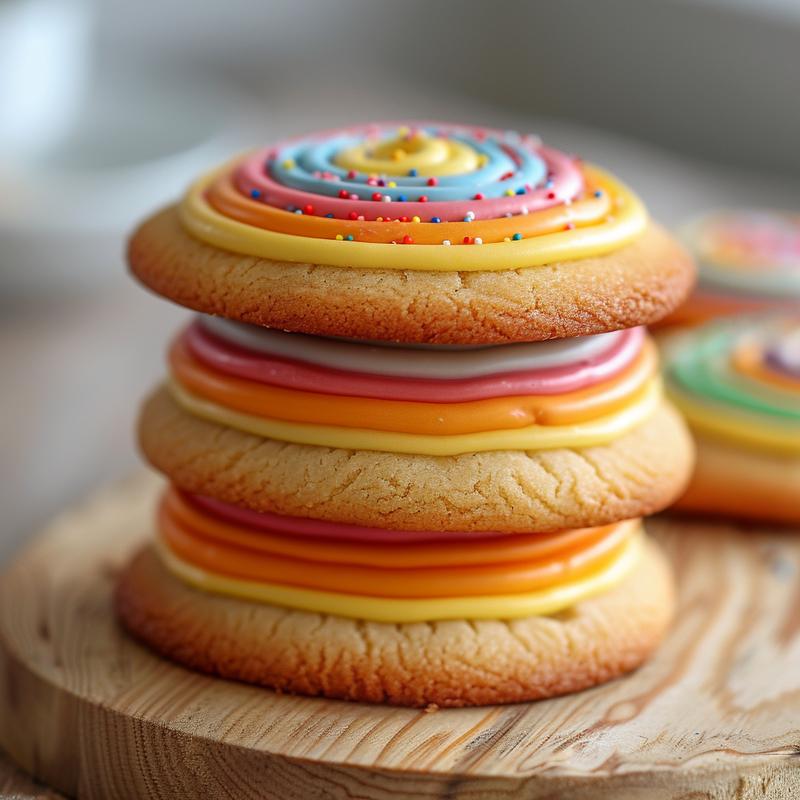
- Visual Appeal: The vibrant colors and intricate details of the tulip designs are simply captivating.
- Creative Outlet: Cookie decorating is a fantastic way to express your artistic side.
- Perfect for Gifting: These cookies make a thoughtful and unique gift for any occasion.
- Delicious Treat: Beyond their beauty, these cookies are a delightful treat to enjoy.
- Family Fun: Gather your loved ones and make it a collaborative baking project.
Ingredients: The Painter’s Palette
To embark on this culinary canvas, gather your ingredients. Each element plays a crucial role in creating our edible masterpiece:
- Sugar Cookie Dough (pre-made or homemade): The foundation of our tulip field. Use your favorite recipe or a high-quality store-bought dough.
- Royal Icing (various colors): The paint that brings our tulips to life. We’ll need a palette of vibrant hues.
- Piping Bags or Squeeze Bottles: The tools for precise application of our royal icing.
- Sprinkles (optional): Tiny jewels to add a touch of sparkle and whimsy.
Step-by-Step: Cultivating Your Cookie Tulip Field
Let’s begin the transformation, turning simple dough and icing into a breathtaking tulip field. Each step is a brushstroke in our culinary painting.
- Bake the Canvas: Bake sugar cookies according to your recipe or package instructions. Ensure they are cooled completely before decorating. This provides a stable base for our artistic endeavors.
- Prepare the Palette: Divide the royal icing into separate bowls and tint each bowl with a different color. Embrace the vibrant hues of spring – pinks, purples, yellows, and greens.
- Transfer the Colors: Transfer each color of icing into a piping bag or squeeze bottle. Make sure your piping bags are equipped with small, round tips for detailed work.
- Pipe the Tulips: Pipe tulip shapes onto the cookies. Start with a dot for the base and then add curved lines or petals around it. Experiment with different techniques to create a variety of tulip designs. You can also **use a** heart cutter to make tear drop shapes for petals.
- Add Sparkle (Optional): If desired, add sprinkles before the icing sets. This adds a delightful touch of texture and shimmer.
- Let the Masterpiece Dry: Let the icing dry completely before serving or packaging. This ensures the intricate designs remain intact.
Pro Tips: Secrets of the Masters
To elevate your cookie tulip fields to the realm of true artistry, consider these pro tips:
- Consistency is Key: Ensure your royal icing is the correct consistency. It should be thick enough to hold its shape but thin enough to flow smoothly.
- Practice Makes Perfect: Practice your piping techniques on a piece of parchment paper before decorating the cookies. This allows you to refine your skills and experiment with different designs.
- Color Harmony: Choose a color palette that is visually appealing and harmonious. Consider using complementary colors to create a striking contrast.
- Patience is a Virtue: Cookie decorating requires patience and attention to detail. Don’t rush the process; take your time and enjoy the creative journey.
- Use quality ingredients: Using quality ingredients like real butter and vanilla extract can significantly improve the flavor of your cookies.
Common Mistakes: Avoiding the Pitfalls
Even the most skilled artists encounter challenges. Here are some common mistakes to avoid:
- Overbaking the Cookies: Overbaked cookies are dry and brittle, making them difficult to decorate.
- Inconsistent Icing: Icing that is too thick or too thin will be difficult to work with.
- Rushing the Drying Process: Rushing the drying process can cause the icing to smudge or crack.
- Overcrowding the Design: Avoid overcrowding the design with too many details. Simplicity can be just as beautiful.
- Not allowing enough time: Cookie decorating can be time-consuming, especially for intricate designs. Make sure you allocate enough time to complete the project without feeling rushed.
Variations: Expanding the Palette
The beauty of cookie decorating lies in its endless possibilities. Here are some variations to spark your creativity:
- Different Flower Varieties: Experiment with other flower designs, such as roses, daisies, or sunflowers.
- Edible Accents: Add edible pearls, glitter, or luster dust for an extra touch of elegance.
- Cookie Bouquet: Arrange the decorated cookies in a bouquet for a stunning centerpiece.
- Themed Cookie Sets: Create themed cookie sets for special occasions, such as Easter, Mother’s Day, or birthdays. Consider adding **colorful bunny-shaped cookies** or **Easter egg-shaped cookies with bunnies**.
- Try different cookie shapes: Use **flower sugar cookies** and arrange them artfully on a platter.
Storage: Preserving the Beauty
To maintain the beauty and freshness of your cookie tulip fields, store them properly:
- Airtight Container: Store the cookies in an airtight container at room temperature.
- Layering: If layering the cookies, place a sheet of parchment paper between each layer to prevent sticking.
- Avoid Humidity: Avoid storing the cookies in a humid environment, as this can cause the icing to soften.
- Freezing: Decorated sugar cookies can be frozen for up to 2-3 months. Thaw them completely at room temperature before serving.
Frequently Asked Questions (FAQ)
Let’s address some common questions that may arise during your cookie decorating journey:
- Can I use store-bought royal icing? Yes, store-bought royal icing is a convenient option. However, homemade royal icing often provides better flavor and control over consistency.
- How do I prevent the icing from cracking? Ensure the icing is the correct consistency and avoid overbaking the cookies.
- Can I use food coloring gel instead of liquid food coloring? Yes, food coloring gel is a great option for achieving vibrant colors without altering the consistency of the icing.
- How long does it take for the icing to dry completely? The drying time depends on the thickness of the icing and the humidity. Typically, it takes several hours or overnight for the icing to dry completely.
- What if my royal icing is too thick? Add water, one teaspoon at a time, until you reach the desired consistency.
- What if my royal icing is too thin? Add powdered sugar, one tablespoon at a time, until you reach the desired consistency.
Serving Suggestions: A Feast for the Senses
Present your cookie tulip fields with flair and elegance:
- Elegant Platter: Arrange the cookies on an elegant platter for a stunning presentation.
- Tea Party Treat: Serve the cookies as part of a tea party spread.
- Gift Packaging: Package the cookies in a decorative box or tin for a thoughtful gift.
- Dessert Table Centerpiece: Use the cookies as a centerpiece for a dessert table.
- Pair with Beverages: Serve the cookies with a selection of complementary beverages, such as herbal tea, lemonade, or sparkling wine.
This tutorial aims to help you **make the** most beautiful and elegant cookies. You can **roll out** your dough. You can **step roll out** the dough. It is important **to cut** the dough into perfect shapes. You can **step use** the icing. You may need to **use a** heart cutter. **Roll out** the fondant to make decorations. **Tear drops** can be made using your **fingers until** the design takes shape. You can put **syrup on top of** the cookies. You may want to add **corn syrup** to the icing. Decorating with **royal iced cookies** and **iced sugar cookies** can be fun. You can make it **like I** have. The cookies should be approximately **diameter approximately inches**, depending on the size **your cookie**. These **tulip-themed decorated cookies** are sure to impress. Don’t be a **cookie monster**; share with friends! Consider making a **cookie bouquet**.
As our culinary journey comes to a close, remember that these cookie tulip fields are more than just a recipe. They are a testament to the power of food to connect us to our memories, our traditions, and each other. So, gather your ingredients, embrace the creative process, and let your imagination bloom. Happy baking!


Cookie Tulip Fields
Ingredients
Method
- Bake sugar cookies according to recipe or package instructions. Let cool completely.
- Divide royal icing into separate bowls and tint each bowl with a different color.
- Transfer each color of icing into a piping bag or squeeze bottle.
- Pipe tulip shapes onto the cookies. Start with a dot for the base and then add curved lines or petals around it.
- Add sprinkles, if desired, before the icing sets.
- Let the icing dry completely before serving or packaging.
Notes
Loved this recipe? Save it to your favorite Pinterest board so you can easily find it later! ✨