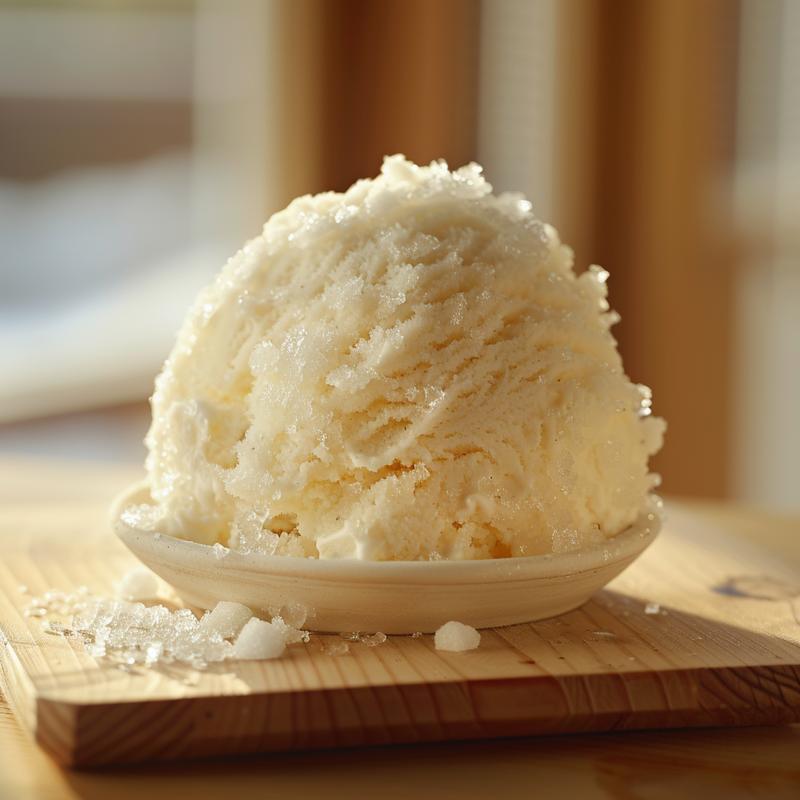
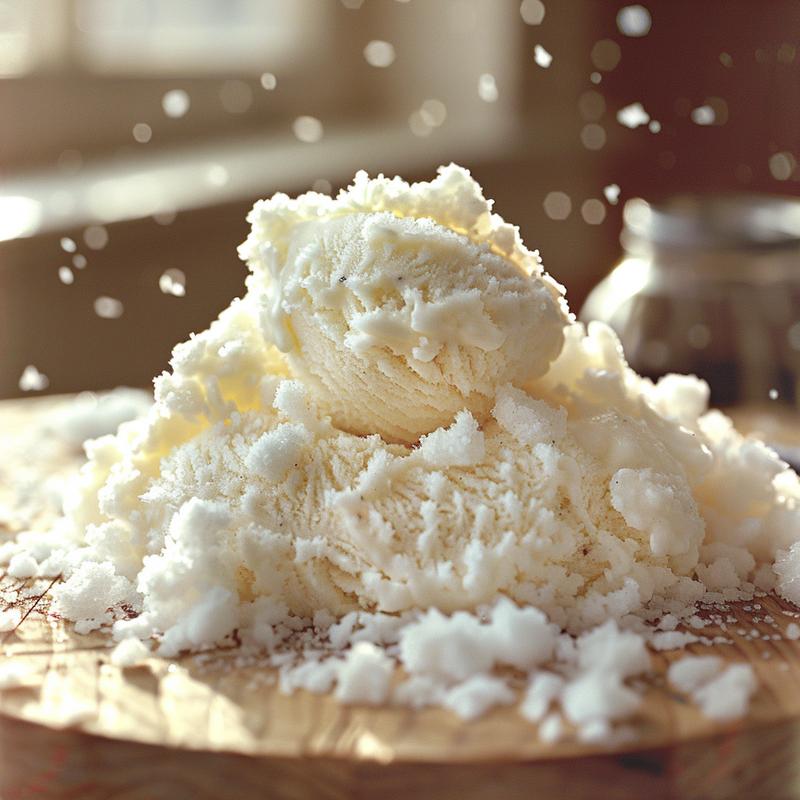
Winter’s frosty embrace brings more than just chilly temperatures; it gifts us a pristine canvas of freshly fallen snow. And what better way to celebrate this seasonal bounty than by transforming it into a delightful, homemade treat? This Snow Ice Cream recipe is not only incredibly simple to make but also a fantastic way to engage with nature’s offerings. Forget store-bought ice cream; let’s dive into creating a unique and memorable dessert using the purest ingredient of all: snow.
This recipe focuses on achieving the perfect balance of sweetness and creaminess, ensuring a delightful mouthfeel that will leave you wanting more. We’ll explore the science behind using snow in ice cream, discussing the crucial aspects of dilution and how to control the texture for an optimal frozen dessert experience. So, grab your mixing bowl, gather some fresh snow, and let’s embark on this culinary adventure!
Why You’ll Love This Snow Ice Cream
This isn’t just about making ice cream; it’s about creating an experience. Here’s why this snow ice cream recipe will become a winter tradition:
- Simplicity: Requires minimal ingredients and equipment. A perfect recipe for beginners.
- Unique Flavor: The fresh snow imparts a clean, crisp taste that’s unlike any store-bought ice cream.
- Fun for All Ages: A fantastic activity to do with kids on a snowy day.
- Customizable: Easily adaptable to different flavors and dietary needs.
- Seasonal Delight: A perfect way to celebrate the winter season and utilize nature’s resources.
Ingredients for Snow Ice Cream
The key to exceptional snow ice cream lies in the quality of your ingredients and the proportions used. This recipe is designed to provide a balanced flavor profile and a smooth, creamy texture.
- 8 cups fresh snow: The star of the show! Ensure it’s clean and freshly fallen.
- 1 cup milk: Whole milk is recommended for richness, but you can use milk or evaporated milk or regular milk, or even non-dairy alternatives.
- 1/2 cup sugar: Adjust to your preferred sweetness level. Granulated sugar works best, but you can also use powdered sugar.
- 1 teaspoon vanilla extract: Enhances the flavor and adds a touch of warmth.
- Pinch of salt (optional): Balances the sweetness and enhances the other flavors.
Step-by-Step Instructions: Making Ice Cream Out Of Snow
Follow these simple steps to create your own batch of delicious snow ice cream:
- Gather Fresh Snow: Collect 8 cups of freshly fallen snow. Avoid snow that has been on the ground for a long time or near roads, as it may contain pollutants.
- Prepare the Base: In a large mixing bowl, combine 1 cup of milk, 1/2 cup of sugar, 1 teaspoon of vanilla extract, and a pinch of salt (if using). Stir well until the sugar is completely dissolved. This ensures a smooth and consistent base.
- Incorporate the Snow: Add the snow to the milk mixture, one cup at a time, stirring gently after each addition. It’s crucial to incorporate the snow gradually to prevent the mixture from becoming too watery. The mixture should be slushy but not overly diluted.
- Serve Immediately: Snow ice cream melts quickly, so it’s best to serve it immediately after preparation. Enjoy your homemade winter treat!
Pro Tips for Perfect Snow Ice Cream
Here are some tips from my experience to ensure your snow ice cream turns out perfectly every time:
- Snow Quality Matters: Use only the freshest, cleanest snow available. The purer the snow, the better the taste.
- Chill Your Bowl: Place your mixing bowl in the freezer for about 15 minutes before starting. This will help keep the ice cream colder for longer.
- Gradual Incorporation: Add the snow slowly, one cup at a time, to prevent the mixture from becoming too watery.
- Don’t Overmix: Overmixing can cause the snow to melt too quickly. Stir gently until just combined.
- Adjust Sweetness: Taste the mixture as you go and adjust the sugar level to your preference.
Common Mistakes to Avoid
Even with a simple recipe, mistakes can happen. Here’s what to watch out for:
- Using Dirty Snow: This is the most common mistake. Always ensure the snow is clean and free from debris.
- Adding Too Much Snow at Once: This can lead to a watery and diluted ice cream.
- Not Dissolving the Sugar Properly: Undissolved sugar can result in a grainy texture.
- Waiting Too Long to Serve: Snow ice cream melts quickly, so serve it immediately.
- Using Warm Milk: This will accelerate the melting process. Use cold milk straight from the refrigerator.
Snow Ice Cream Variations
One of the best things about this recipe is its versatility. Here are some variations to try:
- Chocolate Snow Ice Cream: Add 2 tablespoons of cocoa powder to the milk mixture for a chocolatey twist.
- Peanut Butter Snow Ice Cream: Mix in 2 tablespoons of peanut butter for a nutty flavor.
- Strawberry Snow Ice Cream: Add 1/2 cup of mashed strawberries for a fruity delight.
- Maple Snow Ice Cream: Substitute maple syrup for sugar for a warm, caramel-like flavor.
- Snow Ice Cream With Condensed Milk: Replace the sugar and milk with sweetened condensed milk for an extra rich and sweet version.
- Snow Cream with extracts: Experiment with different extracts like almond, peppermint, or lemon for unique flavor profiles.
How to Store Snow Ice Cream (If You Must)
Snow ice cream is best enjoyed immediately, but if you have leftovers, here’s how to store them:
- Short-Term Storage: Place the ice cream in an airtight container and store it in the freezer for up to 30 minutes. Be aware that the texture will change, and it may become icy.
- Not Recommended for Long-Term Storage: Due to the high water content, snow ice cream is not suitable for long-term storage. It will likely become a solid block of ice.
Frequently Asked Questions (FAQ)
Here are some common questions about making snow ice cream:
- Can I use snow that has been on the ground for a while?: It’s best to use freshly fallen snow to avoid contaminants.
- Can I use non-dairy milk?: Yes, you can use almond milk, soy milk, or any other non-dairy milk alternative.
- Can I use a sugar substitute?: Yes, you can use a sugar substitute like stevia or erythritol.
- How do I know if the snow is clean enough to use?: Look for snow that is white and free from debris. Avoid snow near roads or other sources of pollution.
- Can I add other toppings?: Absolutely! Feel free to add sprinkles, chocolate chips, or any other toppings you like.
Serving Suggestions
Snow ice cream is a delightful treat on its own, but here are some ways to elevate the experience:
- In a Cone: Serve it in a classic ice cream cone for a nostalgic touch.
- With Toppings: Top it with your favorite ice cream toppings, such as sprinkles, chocolate sauce, or fresh fruit.
- As a Dessert Accompaniment: Serve it alongside a warm dessert, such as apple pie or brownies.
- In a Sundae: Create a snow ice cream sundae with layers of toppings and sauces.
Now that you’re armed with the knowledge and techniques to create the perfect snow ice cream, go forth and transform winter’s gift into a delicious, memorable treat. Enjoy the process, experiment with flavors, and share the joy with friends and family. Happy snow ice cream making!

Snow Ice Cream
Ingredients
Method
- Gather fresh, clean snow.
- Combine milk, sugar, vanilla, and salt (if using). Stir until sugar dissolves.
- Add snow to the milk mixture, one cup at a time, stirring well.
- Serve immediately.
Notes
Loved this recipe? Save it to your favorite Pinterest board so you can easily find it later! ✨