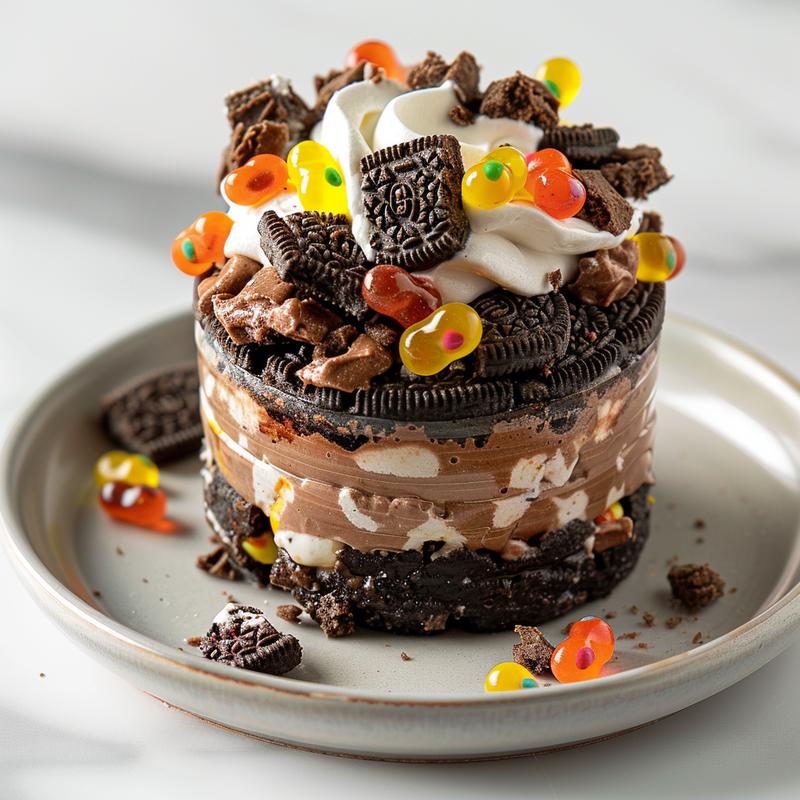
Welcome, fellow culinary adventurers! I’m Jessie, and today we’re diving into a playful yet surprisingly sophisticated dessert: Easter Dirt Cups. These aren’t just for kids; they’re a whimsical treat that can delight adults too, especially when crafted with an eye for balance and presentation. Think of it as deconstructing a chocolate mousse and rebuilding it with a playful twist. Get ready to master the art of layering and create a dessert that’s both fun and utterly delicious. This recipe is perfect for Easter celebrations, brunch parties, or any occasion that calls for a touch of childlike joy.
Why You’ll Love This Recipe
Beyond the undeniable fun factor, these Easter Dirt Cups offer a unique opportunity to explore flavor and texture contrasts. The creamy chocolate pudding against the crunchy crushed cookies creates a delightful mouthfeel. The visual appeal, enhanced by gummy worms and candy carrots, makes it a feast for the eyes. This recipe is a fantastic way to engage kids in the kitchen, teaching them about layering, textures, and the joy of creating something delicious together. It’s a fun and easy dessert that allows for creative expression. Plus, it’s endlessly customizable! Let’s break down why these dirt cups are a must-try:
- Simplicity: Easy to make, even with little helpers.
- Customizable: Adaptable to different dietary needs and preferences.
- Crowd-Pleasing: A guaranteed hit at any gathering, especially for parties.
- Nostalgic: A sweet and whimsical treat that brings back childhood memories.
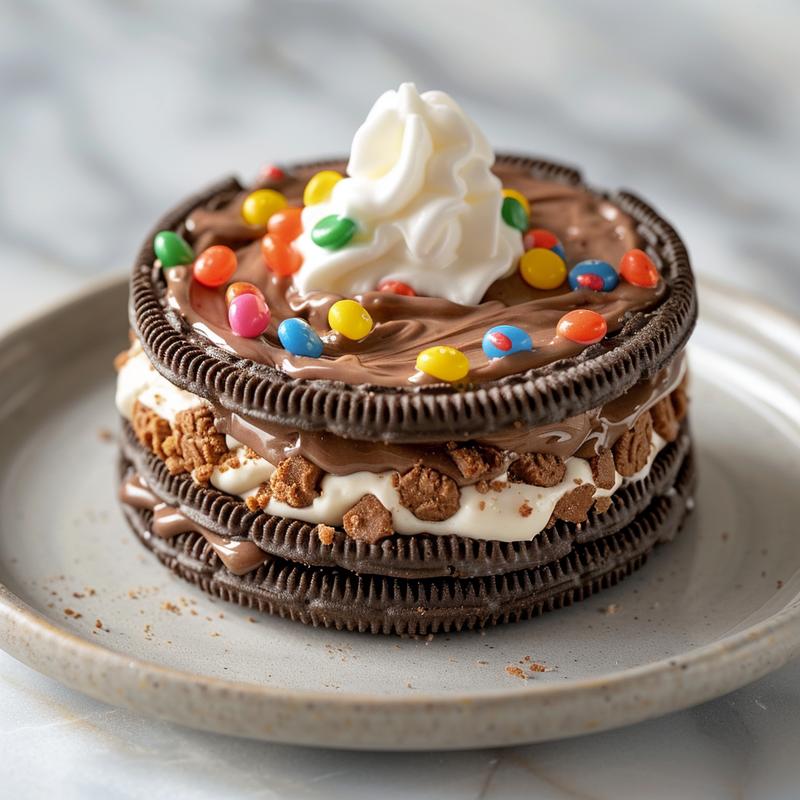
- Visually Appealing: The layered effect and decorations make it a stunning dessert.
Ingredients: The Building Blocks of Deliciousness
Let’s gather your ingredients! The quality of each component contributes to the overall balance of the dessert. Consider using high-quality chocolate sandwich cookies for a richer flavor. Here’s what you’ll need:
- Chocolate Sandwich Cookies: 1 package (14.3 ounces), such as Oreos. These provide the “dirt” element.
- Instant Chocolate Pudding Mix: 1 package (3.9 ounces). Choose a good quality brand for the best flavor.
- Milk: 2 cups. Use whole milk for a richer pudding, or a non-dairy alternative.
- Whipped Topping: 1 container (8 ounces), thawed. Adds a light and airy texture.
- Gummy Worms: For that classic dirt cup touch.
- Candy Carrots: To add an Easter-themed decorative element.
- Clear Plastic Cups: To showcase the beautiful layers.
Step-by-Step: Crafting Your Easter Dirt Cups
Now, let’s assemble these delightful treats. Follow these steps for a perfectly layered and balanced dessert:
- Crush the Cookies: Achieve a fine crumb texture. A food processor works best, but a resealable bag and rolling pin are perfectly acceptable.
- Prepare the Pudding: Follow the package directions, using 2 cups of milk. Allow the pudding to set for a few minutes to achieve the right consistency.
- Incorporate the Whipped Topping: Gently fold the thawed whipped topping into the chocolate pudding. This creates a light and airy mousse-like consistency.
- Layer the Cups: Begin with a layer of crushed cookies at the bottom of each cup.
- Add Pudding: Follow with a layer of the chocolate pudding mixture.
- Repeat Layers: Continue layering cookies and pudding until the cup is almost full, ending with a layer of crushed cookies on top.
- Decorate: Adorn with gummy worms and candy carrots to create a whimsical garden scene.
- Chill: Refrigerate for at least 30 minutes before serving to allow the flavors to meld.
Pro Tips for Elevated Dirt Cups
Elevate your dirt cups from simple to spectacular with these expert tips:
- Cookie Quality: Use high-quality chocolate sandwich cookies for a richer, more complex flavor.
- Pudding Perfection: Experiment with different pudding flavors, such as dark chocolate or even vanilla, for a unique twist.
- Whipped Topping Alternatives: Try using homemade whipped cream for a superior taste and texture.
- Layering Technique: Create distinct layers by pressing the cookie crumbs slightly before adding the pudding.
- Gummy Worm Placement: Strategically place the gummy worms to create a visually appealing garden scene. Consider having some “emerge” from the dirt.
Common Mistakes to Avoid
Even simple recipes can have pitfalls. Here’s what to avoid:
- Overmixing: Be gentle when folding in the whipped topping to avoid deflating it.
- Uneven Layers: Strive for consistent layers for a visually appealing final product.
- Premature Decoration: Decorate just before chilling to prevent the gummy worms from becoming sticky.
- Insufficient Chilling: Make sure to chill for at least 30 minutes to allow the flavors to meld and the pudding to set properly.
- Using Warm Pudding: Ensure the pudding has cooled slightly before layering, to prevent the cookie crumbs from becoming soggy.
Variations: Remixing the Classics
The beauty of dirt cups lies in their versatility. Let’s explore some exciting variations:
- Vegan Dirt Cups: Use vegan chocolate sandwich cookies, plant-based milk, and vegan whipped topping.
- Gluten-Free Dirt Cups: Opt for gluten-free chocolate sandwich cookies and ensure your pudding mix is gluten-free.
- Peanut Butter Cup Dirt Cups: Add a layer of peanut butter cups, chopped, for a decadent twist.
- Mint Chocolate Dirt Cups: Use mint-flavored chocolate sandwich cookies and a touch of peppermint extract in the pudding.
- Cookies and Cream Dirt Cups: Incorporate crushed cookies and cream-flavored sandwich cookies.
Storage: Keeping Your Dirt Cups Fresh
Proper storage is key to maintaining the texture and flavor of your dirt cups:
- Refrigeration: Store in the refrigerator for up to 2 days.
- Airtight Containers: Cover the cups tightly with plastic wrap or transfer them to airtight containers to prevent them from drying out.
- Freezing: Freezing is not recommended, as the texture of the pudding and whipped topping may change upon thawing.
Frequently Asked Questions (FAQ)
Let’s address some common questions about making Easter Dirt Cups:
- Can I make these ahead of time? Yes, you can assemble the dirt cups a day in advance. Store them in the refrigerator until ready to serve.
- Can I use different types of cookies? Absolutely! Experiment with different flavors and textures.
- Can I use sugar-free pudding? Yes, sugar-free pudding mix works well in this recipe.
- What if I don’t have clear plastic cups? You can use any type of cup or bowl. Clear cups simply showcase the layers beautifully.
- Can I add other toppings? Feel free to add sprinkles, chocolate shavings, or any other toppings you desire.
Serving Suggestions: Presentation is Key
Elevate your Easter Dirt Cups with thoughtful presentation:
- Garnish: Add a sprig of mint or a small edible flower for a touch of elegance.
- Individual Platters: Serve each cup on a small plate or platter.
- Themed Display: Arrange the dirt cups on a tiered stand or platter with other Easter treats.
- Dusting: Lightly dust the top layer of crushed cookies with cocoa powder for a sophisticated touch.
- Pairing: Serve alongside a glass of chilled milk or a light dessert wine.
These DIY Easter Dirt Cups are more than just a dessert; they’re an experience. They’re a chance to engage your creativity, experiment with flavors and textures, and create something truly special. So, gather your ingredients, embrace the process, and enjoy the delightful results! Remember, the key to a perfect dirt cup is balance—balance of flavor, texture, and presentation. Happy creating!

DIY Easter Dessert: Dirt Cups
Ingredients
Method
- Crush cookies into fine crumbs.
- Prepare pudding with 2 cups of milk; let set.
- Fold in whipped topping.
- Layer crushed cookies at the bottom of each cup.
- Add a layer of the chocolate pudding mixture.
- Repeat layers, ending with cookies on top.
- Decorate with gummy worms and candy carrots.
- Refrigerate for at least 30 minutes before serving.
Notes
Loved this recipe? Save it to your favorite Pinterest board so you can easily find it later! ✨